If you’re a fan of paneer, you’re in for a treat. Here is a detailed guide on how to make soft masala paneer that’s perfect for grilling, salads, or even snacking on its own.
Estimated reading time: 6 minutes
Jump to:
About Masala Paneer
Paneer, a fresh and versatile soft cheese, is a staple ingredient in Indian Cuisine. Adding spices and herbs while making the paneer transforms it from a simple, plain cheese into a flavorful ingredient that can elevate any dish.
Why you should make Masala Paneer:
Making paneer at home may seem daunting at first, but here’s why you should make it:
- it is fresh and free from preservatives
- a good vegetarian, high-protein snack
- you can make it a small/large quantity
- it is completely gluten and nut-free
- meal prep friendly and inexpensive
Ingredients You’ll Need
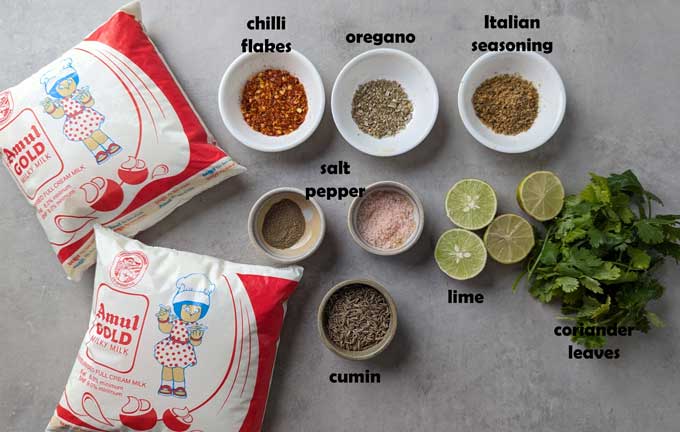
- Full-fat milk with more than 5% fat. In India, I prefer Amul Gold for making curd or paneer at home.
- Acidic Agents like lime juice or white vinegar to transform milk into paneer.
- Seasoning: Chilli Flakes, Cumin, Oregano or Pizza Seasoning Mix, Salt, Crushed Black Pepper, Fresh Coriander
- Ice Cold Water
Equipment:
- Paneer Box
- Colander or sieve
- Large, heavy-bottomed pot
- Muslin cloth or cheesecloth
- Heavy Weight (a pot filled with water or mortar, for example)
How To Make Masala Paneer
1. Boiling the milk
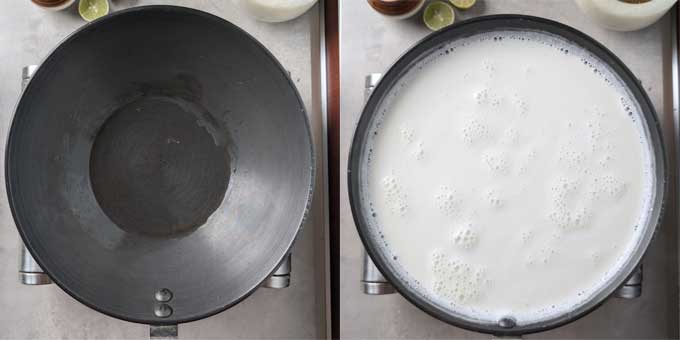
- Pour a tiny bit of water into the saucepan. This prevents milk from sticking to the pot and burning.
- Start by pouring full-fat milk into a large, heavy-bottomed pot.
- Place the pot over high heat and bring the milk to a boil, stirring occasionally to prevent it from scorching at the bottom.
2. Seasoning the milk
- Once the milk reaches a rolling boil, reduce the heat to the lowest setting.
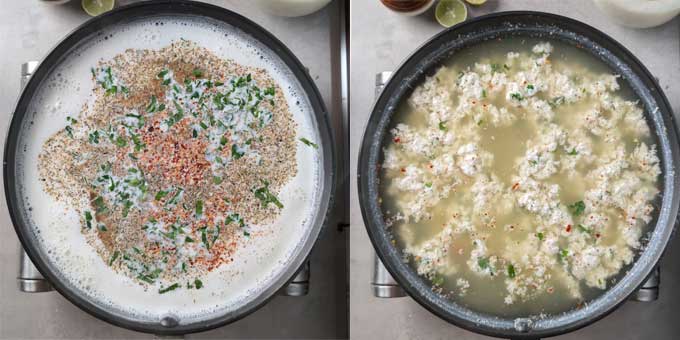
- Add all the seasoning and salt. Gently stir to combine.
3. Adding the Acidic Agent
- Slowly add lemon juice or white vinegar while stirring the milk gently.
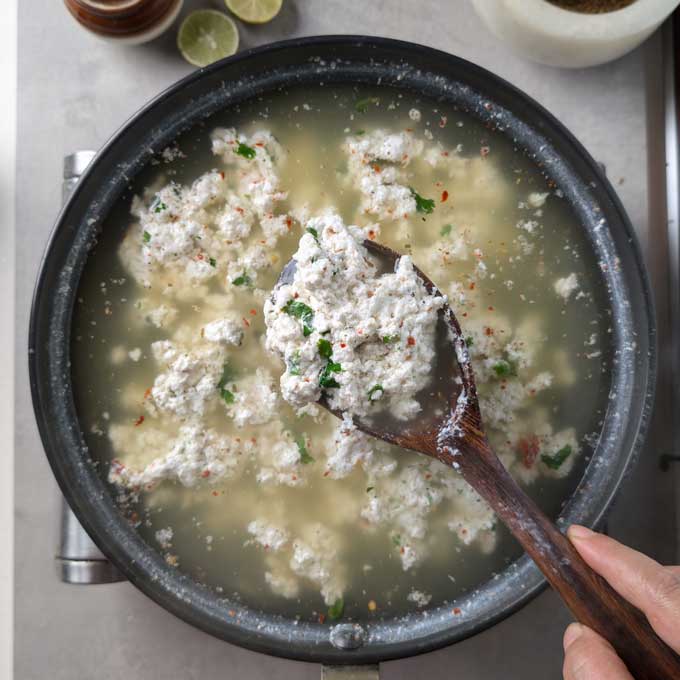
- You’ll notice that the milk begins to curdle, and the cheese (solid parts) starts separating from the whey (liquid). Continue stirring until the whey becomes a pale greenish colour. At this stage, turn off the heat. Remove the saucepan from the heat.
- If the milk doesn’t curdle completely, add more lemon juice or vinegar.
4. Straining the paneer
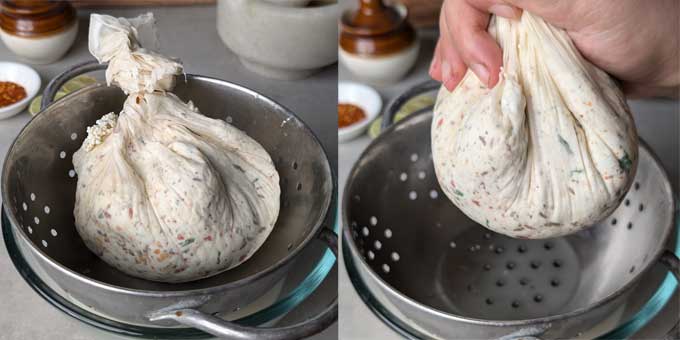
- Line a colander with cheese or muslin cloth.
- Immediately pour the cheese into a colander lined with cloth. Do not waste the whey water, use it for binding paratha dough or making kadhi.
- Pour 2 cups of ice-cold water over the paneer to stop cooking and wash away any residual acidic taste.
- Gather the cloth’s edges and twist them to form a bundle, allowing excess whey to drain out.
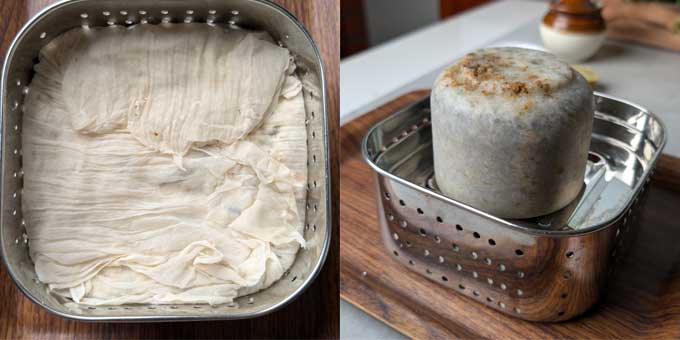
5. Draining and pressing the paneer
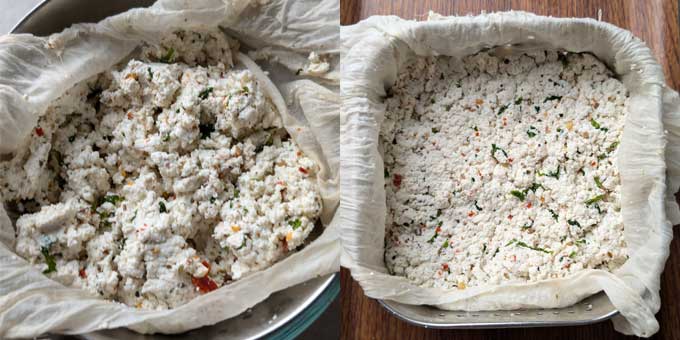
- For soft and spongy paneer, it’s important not to press it too hard.
- Place the muslin cloth-wrapped cheese on a flat surface and place a lightweight on top (such as a plate with a pot of water). Let it sit for 30 minutes to an hour.
6. Cutting and storing the masala paneer
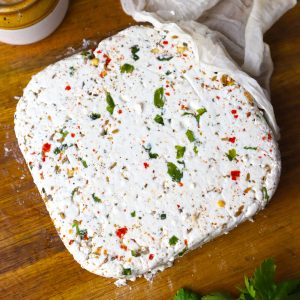
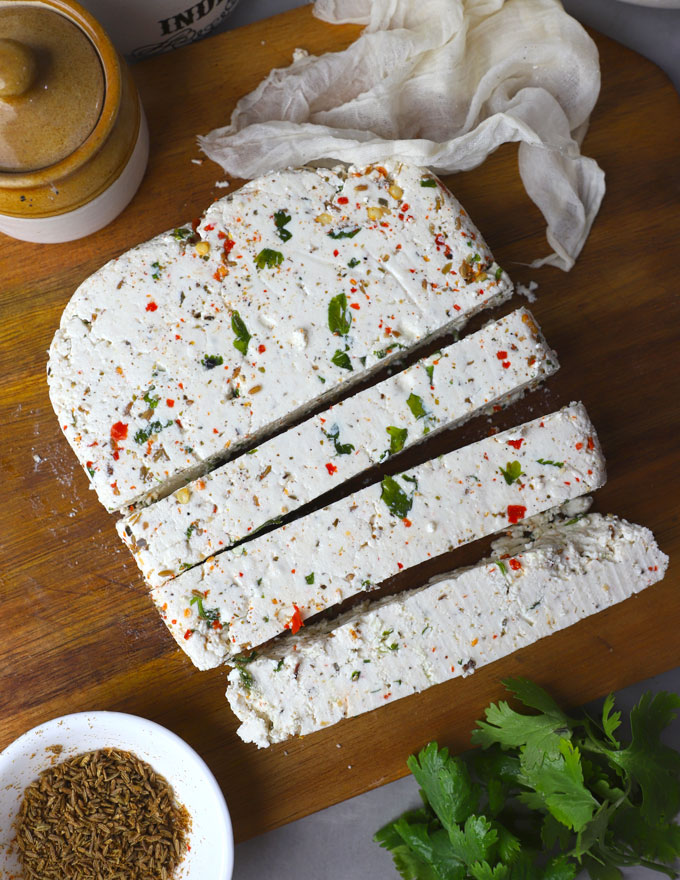
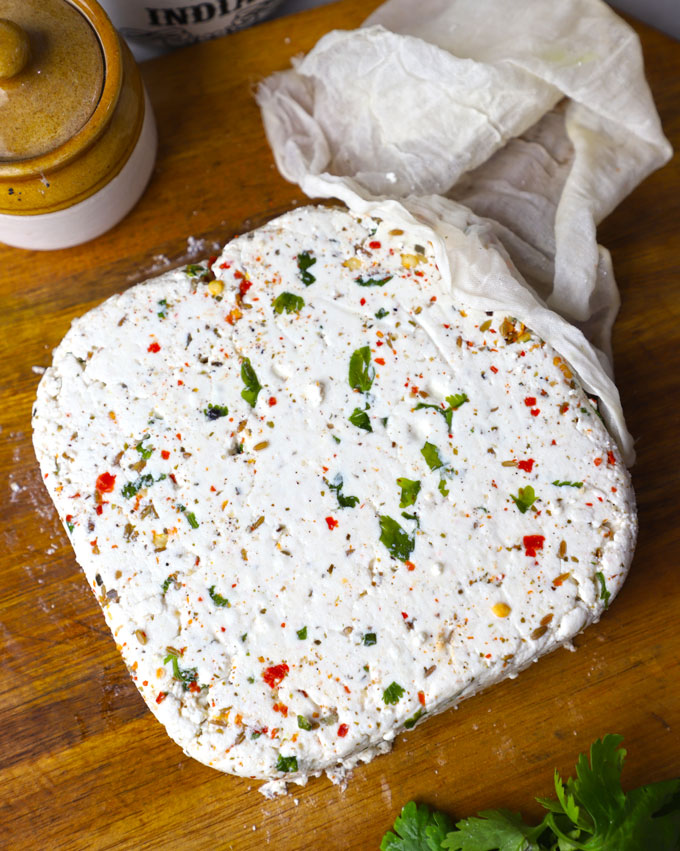
- After the pressing time, unwrap the paneer from the cloth. You’ll have a smooth block of paneer ready to be cut into cubes or slices.
- If you’re not using it immediately, store it in a container filled with water in the refrigerator. This keeps the paneer soft and prevents it from drying out.
Tips for Making Soft Paneer
- Use fat-rich milk as it curdles well and gives you better paneer.
- Temperature matters: Don’t add the acidic agent while the milk is still on high heat. Turn off the heat and then add an acidic agent.
- Pressing time: For a softer paneer, reduce the pressing time and use a lighter weight. If you want a firmer paneer for grilling or frying, press it longer with a heavier weight.
- Gentle pressing: If you prefer your paneer to be extra soft, reduce the pressing time and use a lighter weight. The longer you press, the firmer your paneer will be.
How to Use Masala Paneer
Masala Paneer is incredibly versatile and can be used in a variety of dishes:
- Curries: Add to Indian gravies like kadai paneer, paneer jalfrezi, pulao, or palak paneer
- Snacks: Marinate and grill, make paneer tikka or pan-fry the masala paneer for a spicy, flavorful snack.
- Salads: Toss it with fresh veggies for a protein-rich salad.
- Desserts: Use it to make sweets like Rasgulla or Sandesh.
- Wraps and sandwiches: Add to wraps, or sandwiches for flavoursome, protein-packed stuffing.
follow us on Youtube and Instagram for video recipes.
Homemade Masala Paneer Recipe
Learn how to make soft masala paneer at home with this detailed recipe. Perfect for snacking, grilling or salads.
Save
Print
Pin
Rate
Servings: 400 gram
Calories: 3kcal
- Colander
- Heavy Bottom Kadhai
- Muslin or Cheesecloth
Ingredients
- 2 litre full-cream milk (full fat milk)
- ¼ Cup lime juice or white vinegar
- 1 teaspoon red chilli flakes
- 1 teaspoon Italian Seasoning Mix
- 1 teaspoon crushed black pepper or to taste
- 2 teaspoon salt or to taste
- 1 tablespoon cumin seeds (jeera) roughly crushed
- 2 tablespoon chopped fresh coriander
Instructions
- Pour a tiny bit of water into the saucepan. This prevents milk from sticking to the pot and burning.
- Start by pouring full-fat milk into a large, heavy-bottomed pot.
- Place the pot over high heat and bring the milk to a boil, stirring occasionally to prevent it from scorching at the bottom.
- Once the milk reaches a rolling boil, reduce the heat to the lowest setting. Add all the seasoning and salt. Gently stir to combine.
- Slowly add lemon juice or white vinegar while stirring the milk gently.
- You’ll notice that the milk begins to curdle, and the cheese (solid parts) starts separating from the whey (liquid). Continue stirring until the whey becomes a pale greenish colour. At this stage, turn off the heat. Remove the saucepan from the heat.
- Line a colander with cheese or muslin cloth. Immediately pour the cheese into a colander lined with cloth. Do not waste the whey water, use it for binding dough or making kadhi.
- Pour 2 cups of ice-cold water over the paneer to stop cooking and wash away any residual acidic taste.
- Gather the cloth’s edges and twist them to form a bundle, allowing excess whey to drain out.
- Place the muslin cloth-wrapped cheese on a flat surface and place a lightweight on top (such as a plate with a pot of water). Let it sit for 30 minutes to an hour.
- After the pressing time, unwrap the paneer from the cloth. You’ll have a smooth block of paneer ready to be cut into cubes or slices.
Recipe Notes:
-
- If the milk doesn’t curdle completely, add more lemon juice or vinegar.
- Balance the spices: Adjust the amount of spices based on your preference. For a milder flavour, reduce the chilli flakes or pepper.
- Use fresh herbs: Fresh coriander and mint enhance the paneer’s flavour. You can also experiment with other herbs like dill or fenugreek.
- Do not waste the whey water, use it for binding dough or making kadhi.
- For soft and spongy paneer, it’s important not to press it too hard.
- If you’re not using it immediately, store it in a container filled with water in the refrigerator. This keeps the paneer soft and prevents it from drying out.
Nutrition
Calories: 3kcal | Carbohydrates: 0.3g | Protein: 0.2g | Fat: 0.2g | Saturated Fat: 0.1g | Polyunsaturated Fat: 0.01g | Monounsaturated Fat: 0.04g | Cholesterol: 1mg | Sodium: 14mg | Potassium: 8mg | Fiber: 0.01g | Sugar: 0.2g | Vitamin A: 10IU | Vitamin C: 0.003mg | Calcium: 7mg | Iron: 0.01mg
If you try this recipe, please leave a comment and a rating. This helps us grow and reach more food lovers like you.


Leave Your Rating & Comment