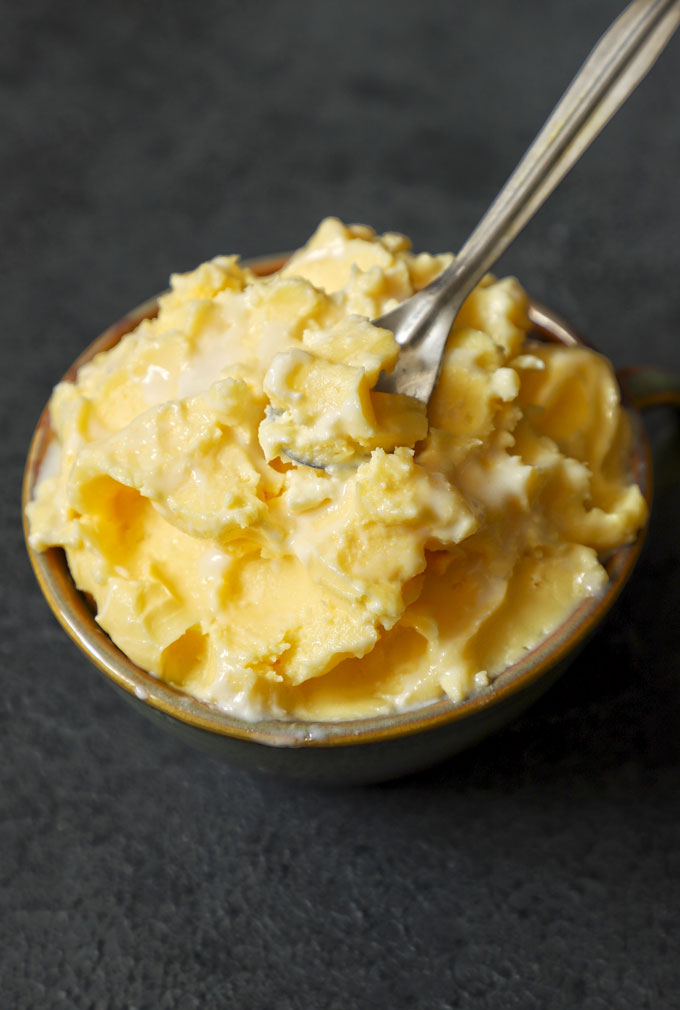
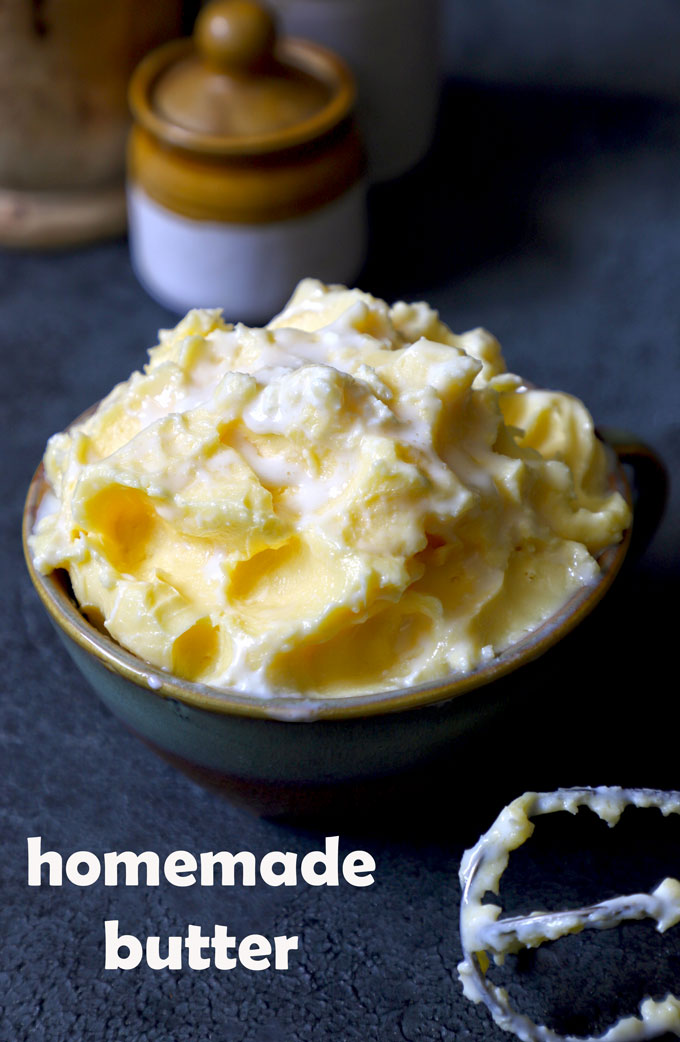
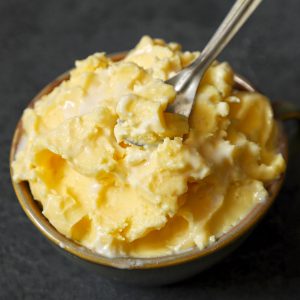
This is a detailed guide for beginners on how to make butter from milk cream (malai) in a few simple steps. This homemade butter (safed makkhan) is gluten-free, has no added artificial flavour or salt, and has a delicious natural taste.
About Homemade Butter
In India, homemade butter is a weekly ritual in many households, including mine. For three generations, women in my family have been making butter at home using cream (malai) collected from milk. And I learned the entire butter-making process from them at an early age.
The freshly churned butter is served as a condiment with piping hot stuffed paratha, naan, dal makhani, and many other Indian main course dishes.
In the Indian sub-continent, homemade butter is known as safed makkhan or white butter.
You must be wondering why one should bother with making butter from scratch. There are several reasons!
- it enhances the flavour of the main dish
- you end up with a superior quality product
- taste and texture of homemade butter are unmatched
- best way to use the cream collected from whole milk
- homemade butter is unadulterated and preservative-free

Malai vs Cream
You can make butter at home from both – malai and fresh cream.
Malai is the Hindi term for a thick layer of cream collected from whole milk. I get 1 litre of whole, full-fat, A2 cow milk daily. Collect the milk cream in a separate bowl (malai) every day after boiling the milk. Keep the bowl in the refrigerator until you are ready to churn butter. Later, add yogurt and churn the butter.
If collecting milk cream seems tedious, you can also make butter from store-bought full-fat cream. Heavy cream with more than 30% fat content works best for churning butter. Do not use low-fat cream with less than 25% fat, cooking, or light creams like Amul.
The reason for using full-fat cream is to churn out maximum butter. Toned milk malai or skimmed cream will not give you butter, no matter how long you whisk or churn it.
How To Collect Milk Malai (Cream)
Collecting milk cream (malai) is an everyday process. It is used for cooking, making butter, and in many other creative ways in Indian cooking.
Boil the full-fat milk one time. Turn off the heat. Allow the boiled milk to cool down completely at room temperature.
Once the milk cools down, a thick layer of cream forms. It is called malai (milk cream). Using a broad spoon or spatula, gently remove the layer of cream from the milk and transfer it to a glass bowl with the lid. Keep it in the refrigerator.
Add 1 tablespoon of curd/yoghurt to the cream (bowl). This helps in reducing odour and increases the shelf life of malai. Repeat this malai collecting process for the next 10 days.
I collect the cream of 1-liter full fat cow milk every day for 10 days to churn 250 grams of butter.
Ingredients Required
Cream: 2 cups of full-fat cream or milk cream (malai)
Water: 4 cups of iced/chilled water
Equipment: One large, wide, deep mixing bowl, spatula, and hand mixer with the whisk attachment. You can use a stand mixer as well with the whisk attachment. Muslin cloth and a clean bowl to store the butter.
Butter Making Process
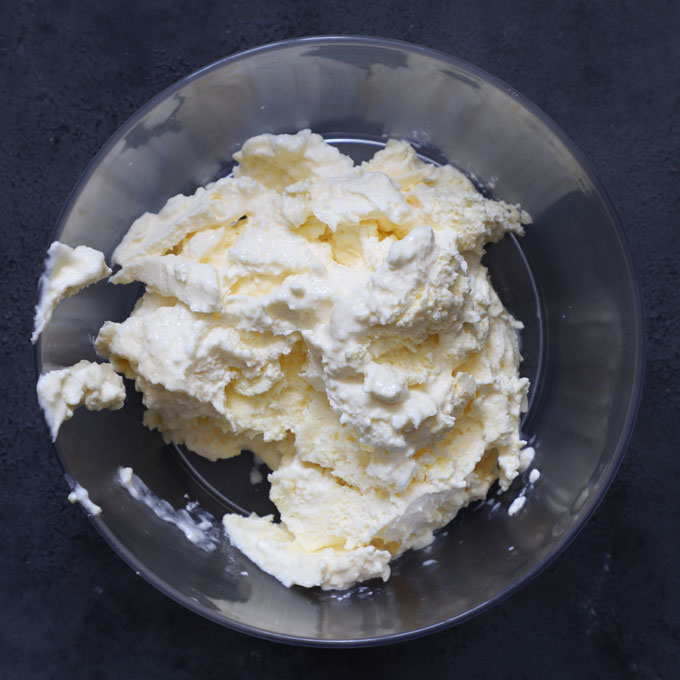
Step 1) Bring out cream or malai from the refrigerator. Let it sit at room temperature for 15 minutes. Keep iced water ready.
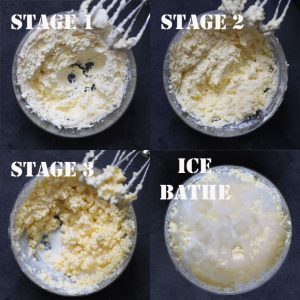
Step 2) Transfer cream to a stand mixer or a mixing bowl. Start whisking it at medium speed. Initially, the cream will start to thicken, and you will get whipped cream with smooth peaks. This is STAGE 1.
Step 3) Continue to whip the cream. The texture of the cream will now turn grainy, or granules will form. This is STAGE 2.
Step 4) Keep whipping the cream at high speed – it will look curdled, and you’ll see some liquid (buttermilk) separating from the cream. This is STAGE 3.
At this point, the buttermilk will begin to splash all around. Cover the bowl with a kitchen napkin or towel to avoid a messy splash all over the place.
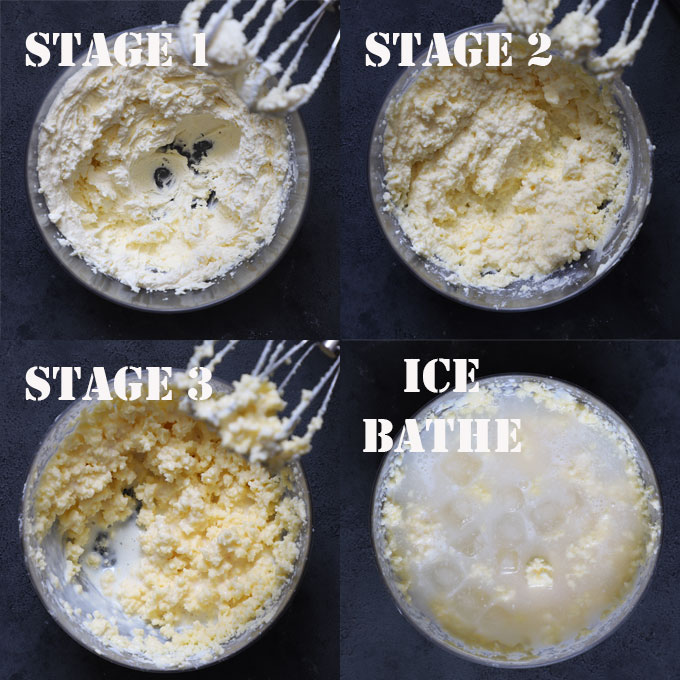
Step 5) Continue to whisk until the tiny lumps of butter are separated. The butter will start sticking to the whisk at this final stage.
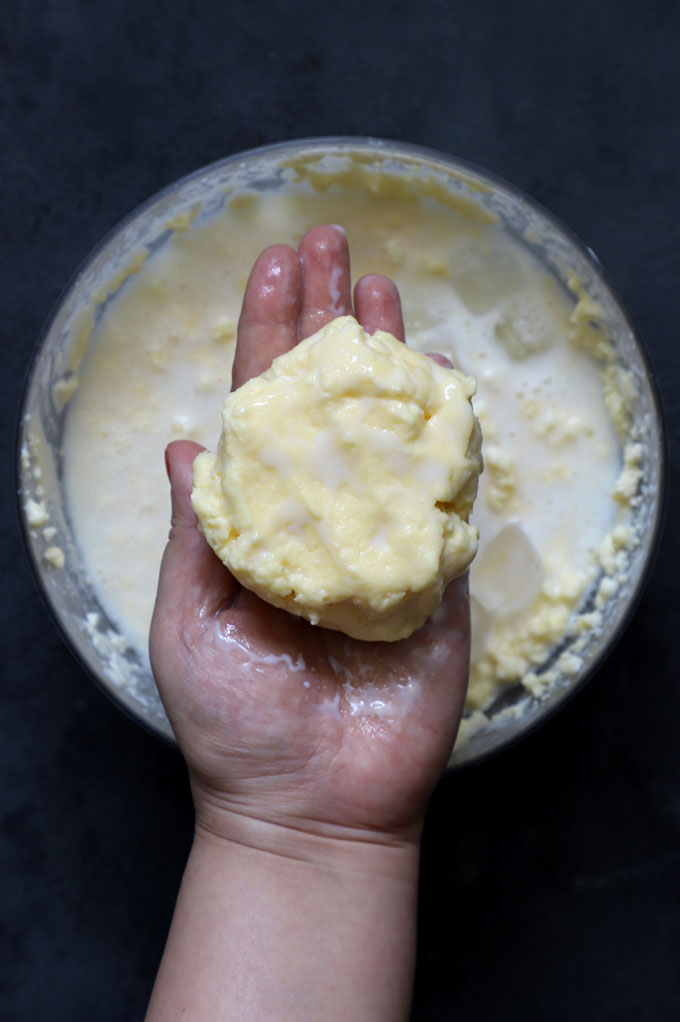
Add 2 cups of ice-cold water. It will solidify the butter. Try to form a ball of butter with your hands.
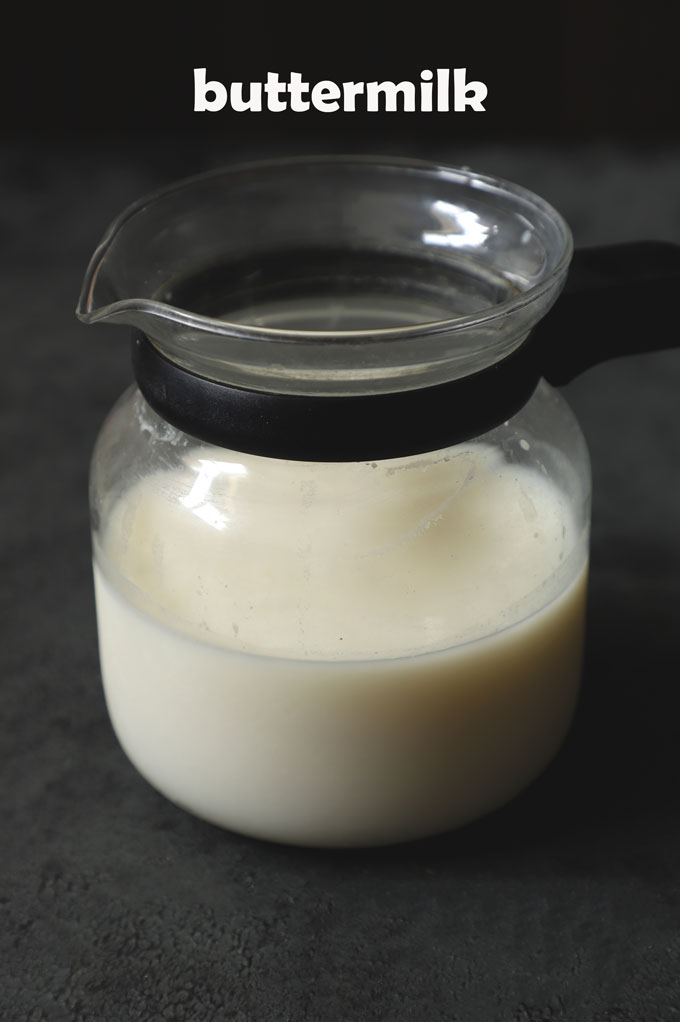
Strain the liquid (buttermilk) using a muslin cloth or strainer.
You can use buttermilk for drinking as chaas, making kadhi, making dough of whole wheat naan, bhatura without using yeast, or for making whole wheat pancake batter.
It is excellent for the gut and digestive systems.
Step 6) Transfer the homemade butter to another bowl filled with clean ice cold water. Wash the butter chunk nicely. You can press it in a muslin or cheesecloth to drain excess liquid.
Bring the edges of the cheesecloth together and press gently to extract as much buttermilk from the butter as possible. Store the homemade butter in a clean and dry bowl.
If you make butter by collecting malai (cream) from milk daily and storing it in the refrigerator for more than 10 days, it tastes bitter and develops a smell. Add a spoonful of curd to the malai (cream) on the first day and then store it for 7 – 10 days.
The type of cream or malai defines the colour of the butter. It might be white if you use packaged full-fat milk, whereas unpasteurized organic cow or buffalo milk will give yellow colour to the butter.
Shelf Life and Storage
Store homemade butter in an airtight container. Like packaged butter, it is best to store homemade butter in the refrigerator. Or, in cold climatic conditions, you can keep it at room temperature for 1 – 2 days.
The shelf life of homemade butter is not more than 15 days. After that, it starts tasting rancid or slightly bitter, like spoiled fresh cheese. Hence, it is best to make a small batch fortnightly.
More Indian Kitchen Hacks
How To Organize Indian Kitchen Cabinet
6 Easy Meal Prep Tips for Indian Kitchen
Subscribe to our weekly newsletter or follow us on Youtube for video recipes.
If you try this recipe and love it, please leave a comment and a rating. This helps us grow and reach other food lovers like you.
Homemade Butter Recipe
- Spatula or Wooden Spoon
- Hand Mixer
Ingredients
- 2 Cup full fat cream or malai
- 4 Cup iced water, divided
Instructions
- To make butter at home you can buy ready made full cream or else you can use cream (malai) from the milk. However, this fresh cream from the milk has to be collected everyday for 10 days and stored in refrigerator in an airtight container.
- To churn out butter, cream should be at room temperature. Bring out cream or malai from the refrigerator. Let it sit at room temperature for 15 minutes. Keep iced water ready in two separate bowls.
- Transfer cream to a stand mixer or a mixing bowl. Start whisking it at medium speed. Initially, the cream will start to thicken and you will get whipped cream with smooth peaks. This is STAGE 1.
- Continue to whip the cream. The texture of the cream will now turn grainy or granules will form. This is STAGE 2.
- Keep whipping the cream at high speed – it will look curdled and you’ll see some liquid (buttermilk) separating from the cream. This is STAGE 3. At this point, the buttermilk will begin to splash all around. Cover the bowl with a kitchen napkin or towel to avoid a messy splash all over the place.
- Continue to whisk until the tiny lumps of butter are clearly separated. At this final stage, the butter will now start sticking to the whisk. Add 2 cups of ice-cold water. It will solidify the butter. Try to form a ball of butter with your hands.

- Transfer the homemade butter to another bowl filled with clean ice cold water. Wash the butter chunk nicely. You can press it in a muslin or cheesecloth to drain excess liquid. Bring the edges of the cheesecloth together and press gently to extract as much buttermilk from the butter as possible.
- Store the homemade butter in a clean, airtight bowl in the refrigerator.
Recipe Notes:
- This is an unsalted homemade butter recipe.
- If the butter is not separating clearly from the cream, then add ½ cup ice cold water to the cream and continue to whip. You can also place the bowl in the freezer for a 10 minutes. Remove and then again begin to whip and churn.
- During the summer season the whole butter making process takes more than 30 minutes. The butter solids will not form that easily. Patience is the only key. Also, maintaining a cool temperature in the kitchen also helps. In short, any kind of heat will slow down the butter making process.
- Make sure to rinse the butter with ice cold water and squeeze out all the liquid using a cheesecloth.


Tara nair says
I love the photographs in your blog. Thanks Hina 🙂
dina says
that butter looks great!