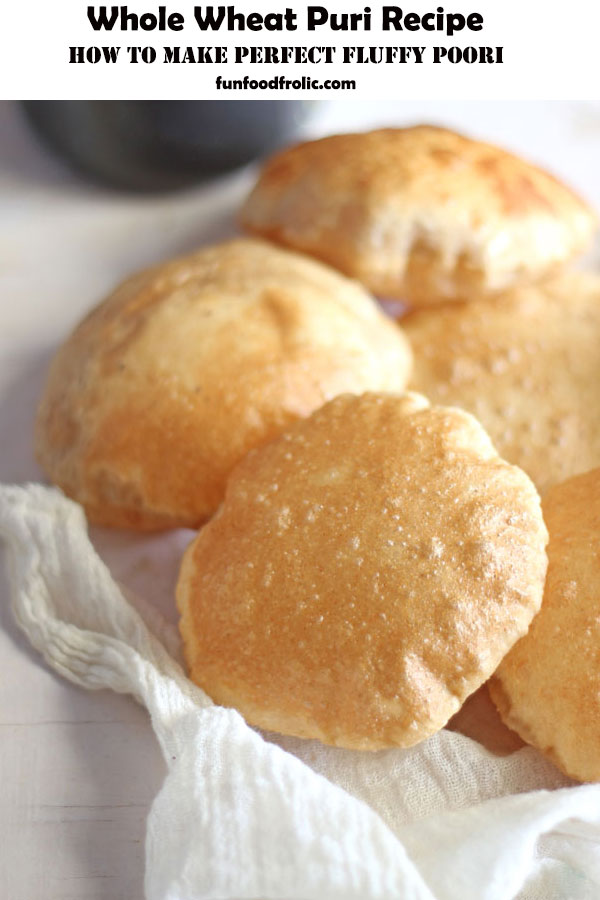
This is a tried and tested failproof whole wheat (atta) puri recipe. My detailed step-by-step guide will help you to make perfect poori each time. Be sure to watch the video!
What is ‘Puri’?
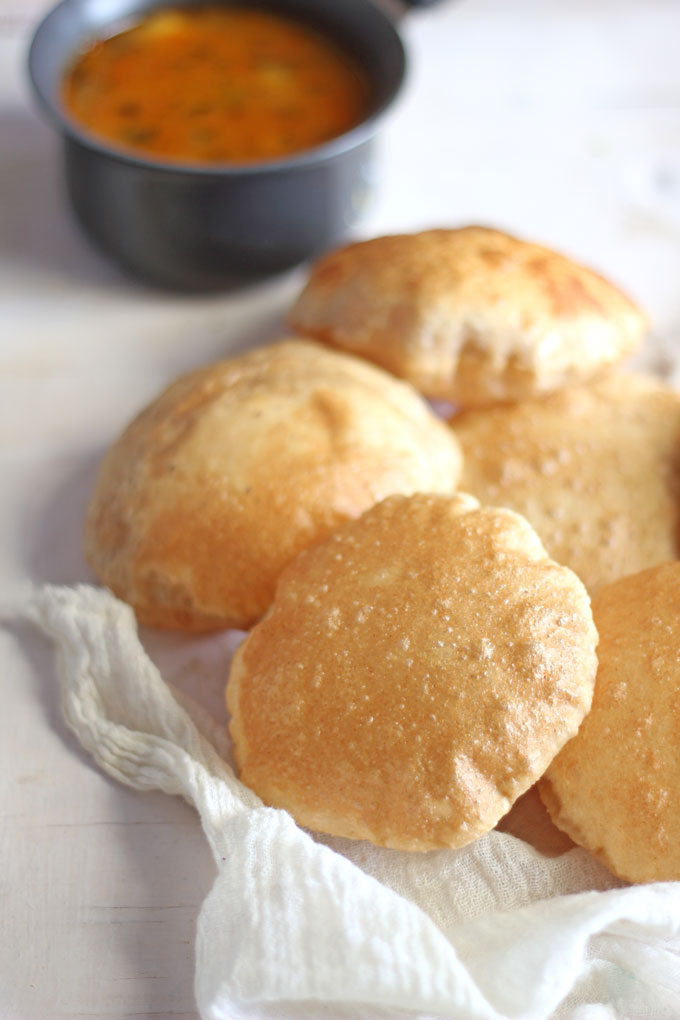
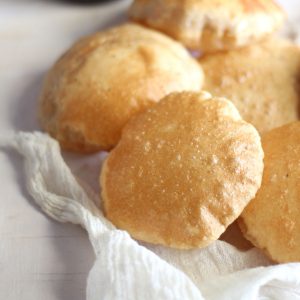
Puri or Poori is a deep-fried puffed-up Indian bread made with whole wheat flour (atta), salt, water, and oil. They are the most popular Indian side dish to accompany curries and gravy dishes.
In India, the early morning walk in the forage of local breakfast or lust for piquant street food often concludes with Puri-Bhaaji. It has become a weighty part of our food culture and heritage. The culinary tour of the country is never considered complete without enjoying Puri dipped in hot and bold curries.
Puri is always considered symbolic of the festive Indian meal. There is a kind of unsaid indulgence involved when we talk about poori.
Difference between Poori and Bhatura
Poori and Bhatura, are both deep-fried puffed-up Indian bread. But poori is made with whole wheat flour and is smaller in size.
Whereas, Bhatura is made with an all-purpose flour fermented dough. It is of a big melon size and much thicker than a poori.
In this post, you will learn,
- The ingredients required for making puri
- The texture of the perfect dough
- The secret to fluffy poori
- Recipe notes and tips
- Serving Suggestions

Ingredients Required
Whole Wheat Flour: The key ingredient to make traditional atta poori.
Semolina (Rava/Sooji): I combine semolina with whole wheat flour to give poori a crisp texture and to avoid oil-soaked poori.
Salt: It gives flavour to the poori and increases shelf life.
Water: Plain water at room temperature is required to bind the dough. Many puri recipes suggest using milk for making the dough.
Oil: A flavourless refined oil with a high smoking point is best for deep-frying poori. You can use ghee as well for a rich and indulgent flavour.
Puri Recipe Variations
There are many puri recipe variations. A few of the popular ones are:
Ajwain Poori: Also known as namak ajwain poori, in this variation, a teaspoon of ajwain (carom seeds/omam) is added to the dough for a spicy, earthy flavor.
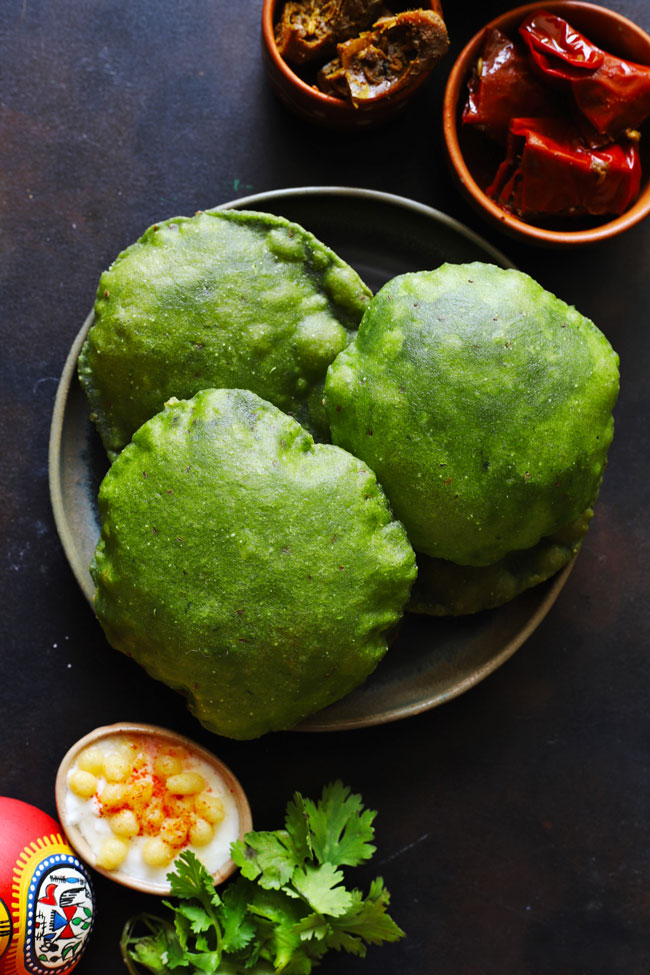
Methi Poori: The addition of fresh fenugreek leaves or kasuri methi (dry fenugreek leaves) in the dough makes poori all the way more delicious.
Masala Poori: From red chilli, to cumin seeds, you can flavour poori dough with any of your favourite spices.
Luchi: In West Bengal, the poori is prepared with all-purpose flour known as Luchi or loochi.
The Poori Dough
As I mentioned above, making perfectly puffed-up soft Poori at home is no uphill task. The one thumb rule I learned from my mother about making perfect puri, is to get the dough right.
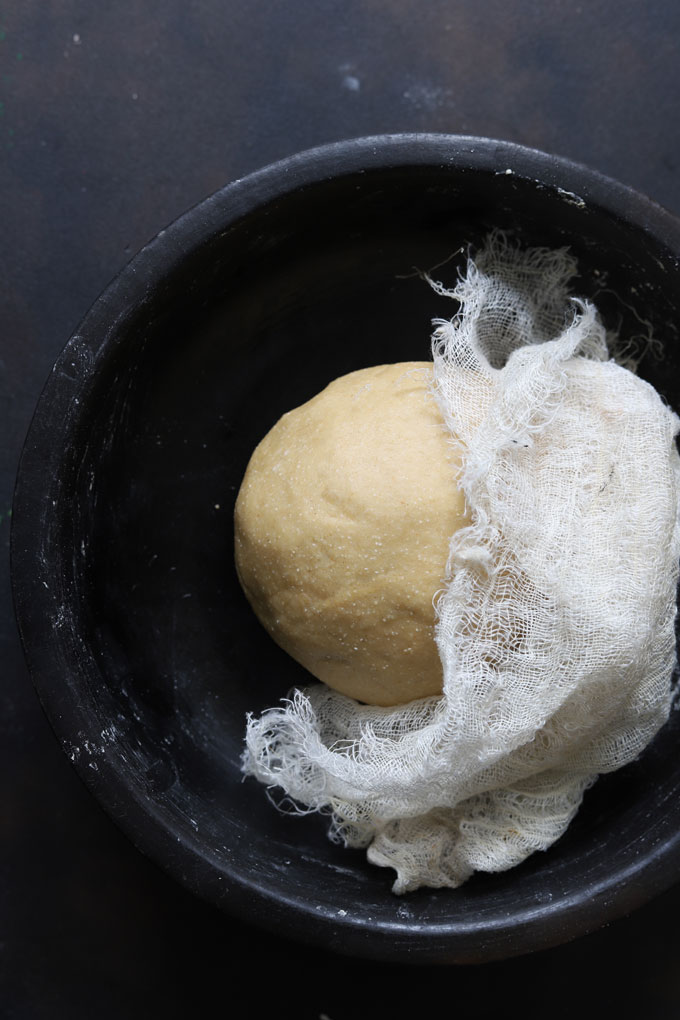
Texture: The dough for poori should be smooth, soft, pliable, yet firm to the touch. It should never be too soft, moist, or sticky.
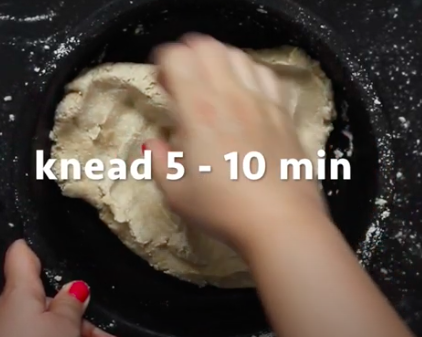
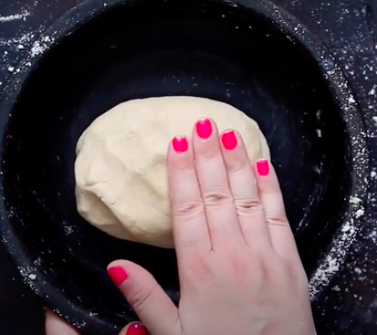
Kneading: Like any other unleavened bread, the dough for puri requires a good amount of kneading of 5 – 10 minutes to get the right texture.
Adding more water will never get you the desired result. A good kneading time and minimal water use are ideal for preparing the poori dough.
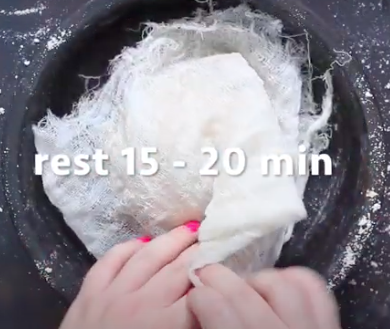
Resting: Once the dough is ready, give it a resting time of 15 – 20 minutes. At this stage, you can keep it in the fridge and in an airtight container to use later.
Secret of Fluffy & Puffy Puri
The rightly puffed-up puri swimming in hot oil is a big achievement.
Here are a few of my secret tips (which I learned from my mother) to make fluffy and puffy puri:
The thickness of the puri should be even. A too-thin or thick poori might refuse to puff up and is likely to soak up too much oil while deep-frying.
Heating oil to the right temperature is a crucial step.
Perform Test: drop a pinch of poori dough into the hot oil. The oil has reached the desired temperature if the dough floats to the surface within a few seconds. If it sinks to the bottom of the pan, then the oil has not reached the desired temperature for deep-frying.
Keep moderating the heat while deep-frying poori to adjust the oil temperature.
Once the poori is added to the hot oil, press it gently using a slotted spoon. This helps in puffing up the poori.
Last, always use a wide and heavy bottom pan to deep-fry the poori.
Watch Puri Recipe Video
My Tried & True Tips
Poori is too oily because the dough is too soft and sticky. Adding semolina to the dough helps in giving poori a crisp texture and makes them less oily.
Poori is not crisp because the oil is not heated to the right temperature while frying.
Poori is chewy because it is undercooked or not fried at the right temperature. Keep moderating the heat while deep-frying poori to adjust the oil temperature.
To store leftover puri, stack them and wrap them tightly in aluminium foil. Store them in an airtight container at room temperature for 1 – 2 days.
Serving Suggestion
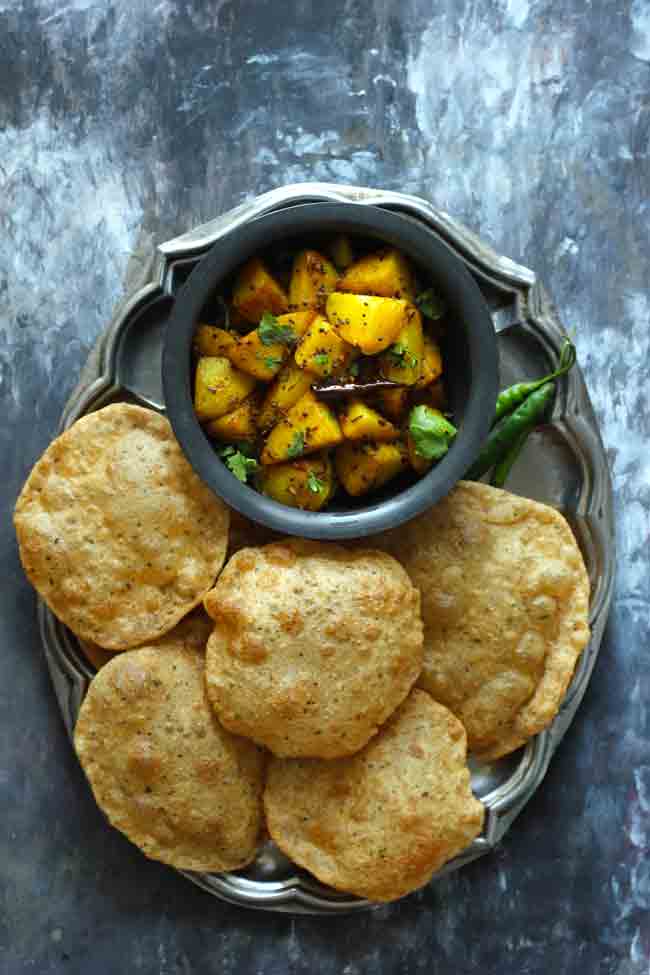
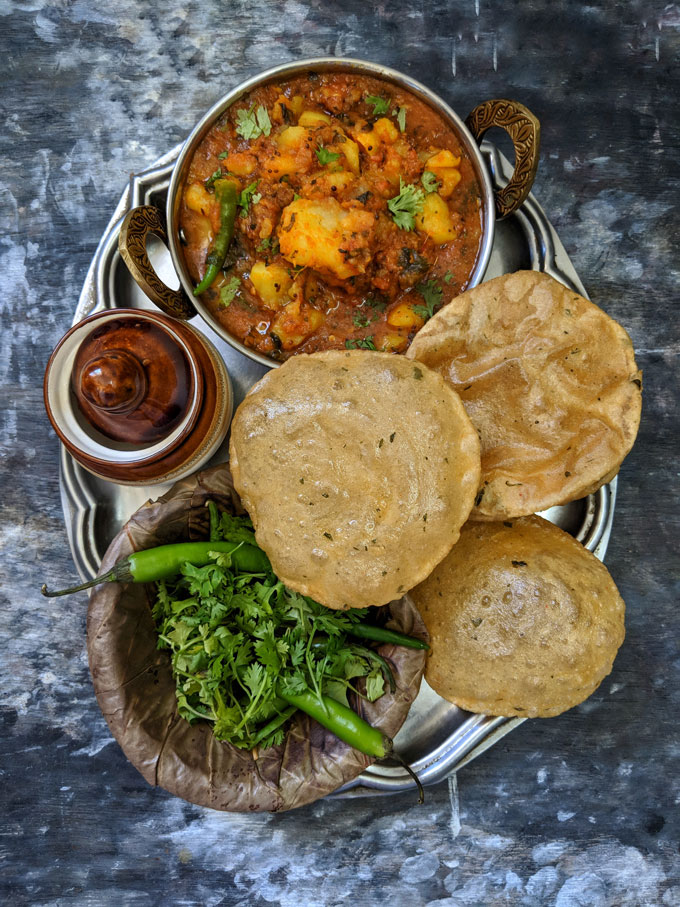
Usually, the most popular festive feast is poori and aloo ki sabzi. Or poori with masala potato fry If you travel across North India, then chana – poori or chole – poori is also a widely loved meal combination
On the occasion of Navratri or Janmashtami, poori is served with no onion and no garlic curries like arbi ki sabzi, dahi aloo curry, or phool makhana curry
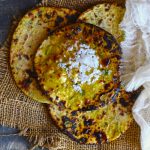
We Kumaoni like to savor poori with Pahadi Aloo Ke Gutke, and cucumber raita for an indulgent breakfast or brunch.
More Poori Recipes
Subscribe to our weekly newsletter or follow us on Youtube for video recipes.
If you try this recipe and love it, please leave a comment and a rating. This helps us grow and reach other food lovers like you.
Whole Wheat Puri Recipe
- Heavy Bottom Kadhai
Ingredients
- 2 Cup whole wheat flour (gehun atta)
- ¼ Cup semolina (sooji/rava) sooji
- 1 teaspoon salt
- 2 tablespoon refined oil
- ½ Cup water, at room temperature
- 4 Cup refined oil or ghee for deep frying
Instructions
- To prepare the dough for puri, first, sift the flour in a large bowl. Add salt and semolina in the flour. Mix nicely.
- Add 2 tablespoon oil to the flour mixture. Rub and mix using fingers.
- Now using 2 tablespoons of water at a time bring the flour together to form a dough.
- Make sure not to use too much water. We need firm yet pliable dough. If the dough is on a stiff side do not worry by kneading you can make it soft.
- Knead dough for next 5 – 10 minutes, more you need more soft puris would be. The good kneading time is one of the tricks to best puris.
- Rub the poori dough with a teaspoon of oil. Cover with a muslin cloth and let it rest for the next 15 – 20 minutes or so.
- Now heat oil for frying puris in a deep heavy bottom pan over medium heat.
- Divide the dough into small or medium size pieces.
- Shape each piece into a round ball by rolling in between your palms. Similarly prepare the balls from remaining dough.
- Before rolling out Poori grease rolling pin and surface with a teaspoon of cooking oil.
- Roll out one ball at a time into a small and thin circle. The size of the puri should be small to medium. Make sure not to roll it out too thin or thick.
- Once the oil is sufficiently hot then test by adding a pinch of dough. If it floats to the surface, the oil is sufficiently hot.
- Add one poori at a time and fry gently pressing down with the frying spoon or slotted spoon in a circular motion.
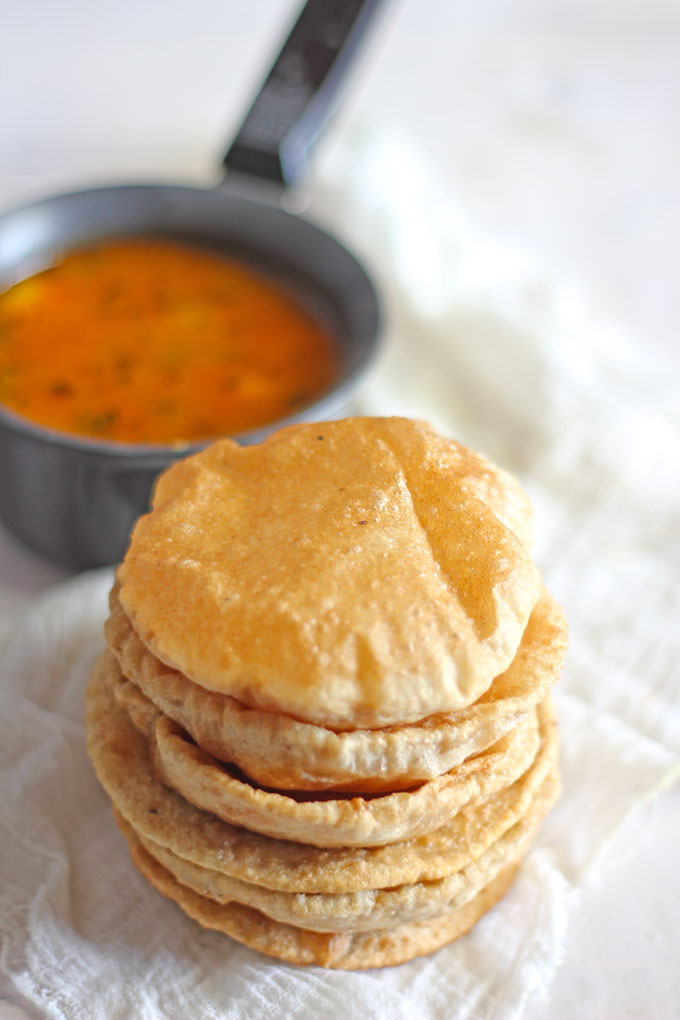
- Turn over when puffed up and fry the poori till golden brown on both sides. Transfer puri to a plate lined with a paper napkin.
- Serve Poori hot with aloo ki sabzi.
Recipe Notes:
- The plain water at room temperature is required to bind the dough.
- A flavorless refined oil with a high smoking point is best when it comes to deep-frying poori.
- The dough for poori should be smooth, soft, pliable yet firm to touch. It should never be too soft, moist, or sticky.
- You can store puri dough for a week in the refrigerator. Leave it at room temperature for 5 – 10 minutes to soften a bit before making poori.
- The thickness of the puri should be even. A too thin or thick poori might refuse to puff up and likely to soak up too much oil while deep – frying.
- Once the poori is added in the hot oil, press it gently using a slotted spoon. This helps in puffing up the poori.
- To store leftover puri, stack them and wrap tightly in aluminum foil. Store them in an airtight container for 1 – 2 days at room temperature.
Nutrition


Antonet Roajer says
Perfectly puffed puris!!
chowringhee says
Nice article thanks for sharing…….
please visit in this site for kathi roll which is very good in looking and test….
home delivery restaurants in karolbagh
Shruthi Reddy says
Hi Hina, tried this recipe and turned out exactly the same! thank you 🙂
Hina Gujral says
Thank you for your feedback. I am so happy.
shruthi says
This looks perfect!
My puris have always failed to fluff up. Will try this recipe 🙂
Hina Gujral says
Hope the tips help you to get perfect puris.
Bhavesh Kothari says
How much is one serving?
Hina Gujral says
By 1 serving I mean 1 puri.
Sabalpharetta says
Hinaji, Question for you..Why does my puri develops a crack while frying? The crack prevents the puri to get puffed and sometimes oil also gets inside. I knead the flour appropriately, also give it give appropriate rest too?
Hina Gujral says
There could be two reasons – the dough is very dry and not kneaded properly. And the most likely reason is, your oil is not hot enough. To test if oil is ready, drop a tiny ball of dough and it should immediately come to the surface. If it is sinking in the bottom of the kadhai then oil is not hot.
Shosherry says
Which sooji isto be used is the fine or the course one for making upma?
Hina Gujral says
Fine rava and not the coarse one.