Here is a naturally fermented, traditional-style ragi idli dosa batter recipe. This is a vegan, gluten free, multi-purpose idli dosa batter with immense health benefits.
Jump to:
With its nutty flavour and nutritional benefits, Ragi Idli Dosa Batter is a wholesome choice for making idlis and dosai. Whether you’re health-conscious, influenced by recipe reels on Instagram or simply looking to explore millets, this dosa batter recipe is bound to impress.
Health Benefits of Ragi
Ragi is also known as finger millet. Originating from Africa, this ancient grain has been a staple food in India for centuries. With its impressive nutritional profile and versatility in the kitchen, ragi has garnered attention as a superfood.
- Nutritional Powerhouse: Ragi is packed with essential nutrients which contribute to overall health and well-being. It is a rich source of calcium and iron.
- Gluten-Free Alternative: For individuals with gluten intolerance or celiac disease, ragi comes to the rescue as a naturally gluten-free option. Use it to make gluten free roti like rice flour.
- Diabetic-Friendly Grain: Ragi has a low glycemic index, meaning it releases glucose into the bloodstream at a slower rate compared to other grains. This property makes it an ideal choice for individuals with diabetes or those aiming to manage blood sugar levels.
- Weight Management Aid: With its high fibre content and low-fat profile, ragi is an excellent addition to weight loss and management regimens.
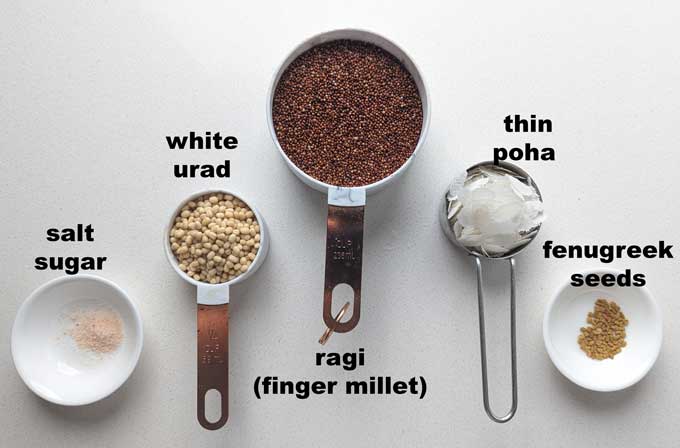
Ingredients Required
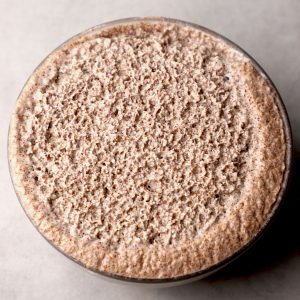
- Ragi – Use whole finger millet and not powder or processed grain.
- Urad Dal (Skinned Whole Black Gram) is used in dosa batter for that creamy, airy texture. For best results use Urad Gota (round variety)
- Thin Poha (Flattened Rice) makes idlis softer.
- Methi Seeds (Fenugreek Seeds) aid the fermentation process and digestion.
- Salt and sugar help in fermenting the batter and giving it a delicious taste.
Process of Making Ragi Idli Dosa Batter
Preparing the Ingredients:
- Rinse the ragi and urad dal separately under running water 2 – 3 times.
- Soak them in water in two separate bowls.
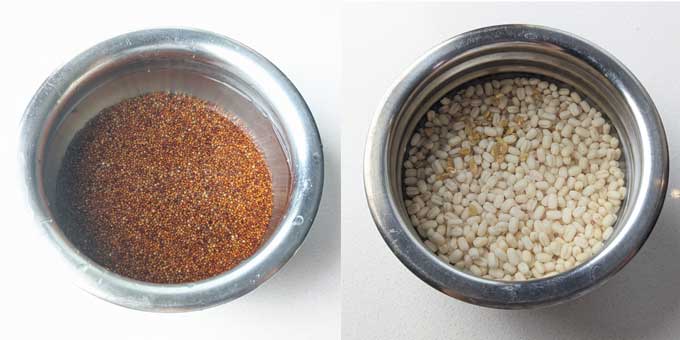
- Soak ragi (finger millet) for 8 – 10 hours. Whereas urad with fenugreek seeds for 8 hours.
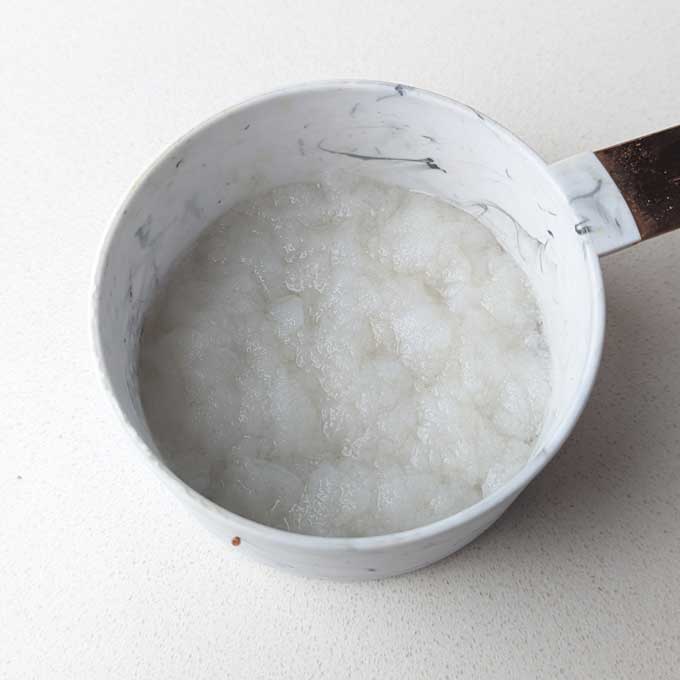
- Soak poha (flattened rice flakes) for 10 minutes in water.
Grinding the Batter:
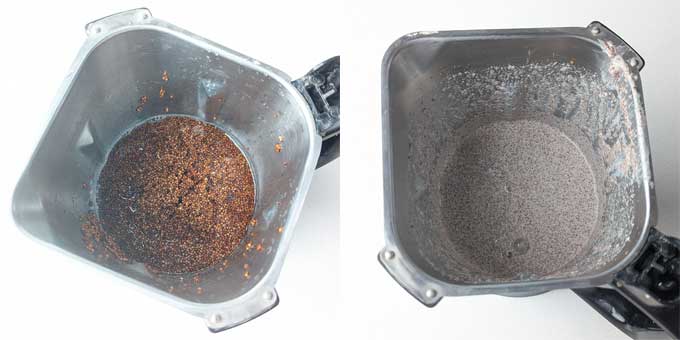
- After soaking, drain the water from both ragi and urad.
- Using a strong blender or wet grinder, grind the soaked ragi into a smooth consistency. Do not add more than 2 – 3 tablespoons of water to get a thick, smooth batter. Transfer it to a large mixing bowl.
- Now grind the soaked urad dal with fenugreek seeds and poha into a smooth, fluffy batter, using 1 – 2 tablespoons of water if needed.
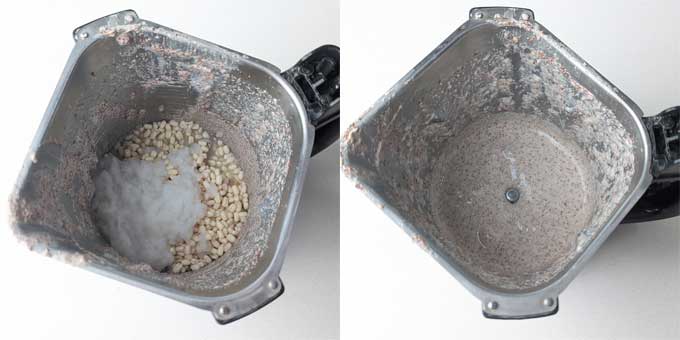
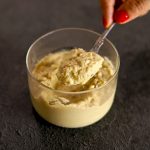
- Combine the ragi batter, dal batter, salt, and sugar in the mixing bowl.
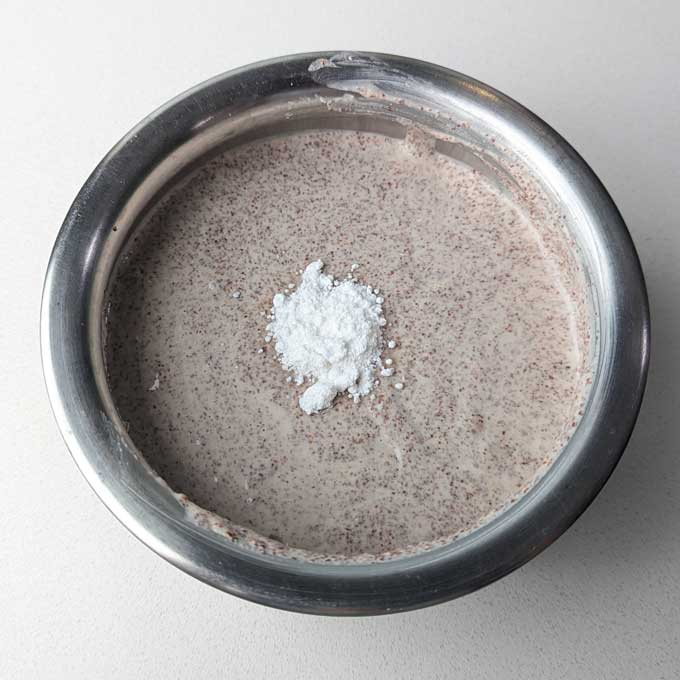
- Whisk or beat the batter for 5 minutes, in a clockwise direction.
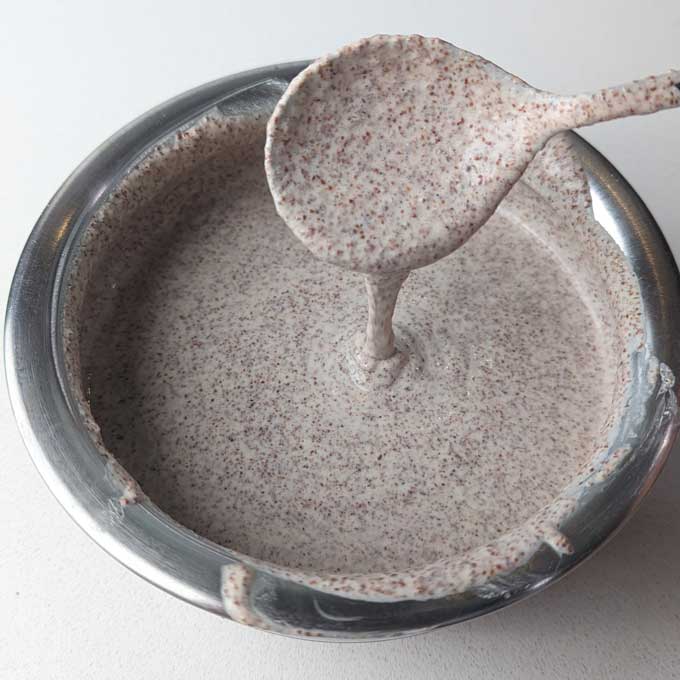
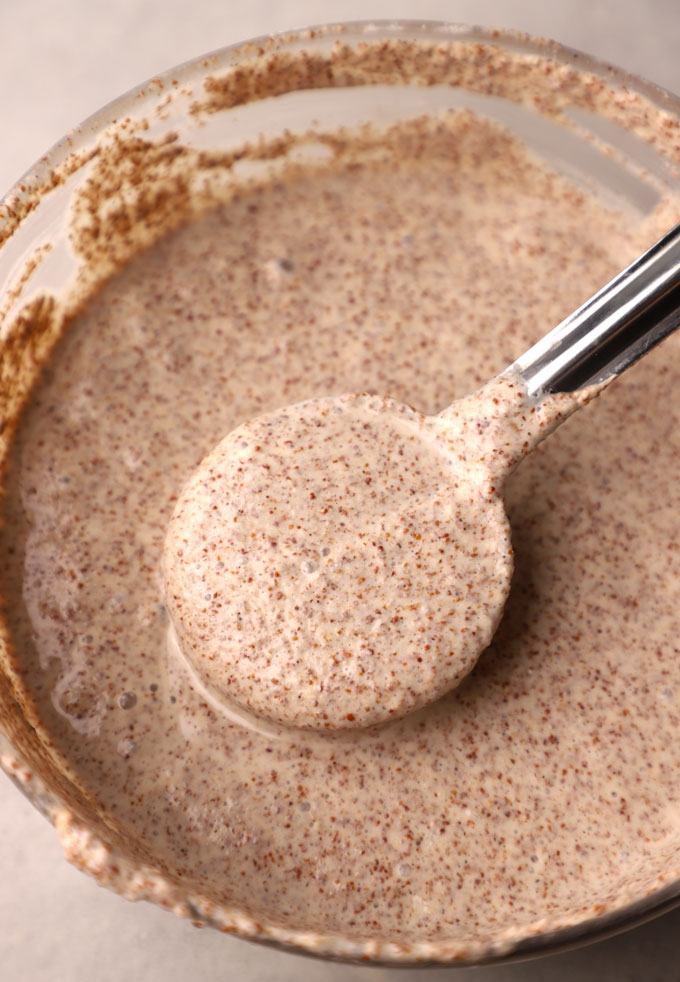
- The consistency of idli dosa batter should be light, smooth and spoon-dropping.
Fermentation:
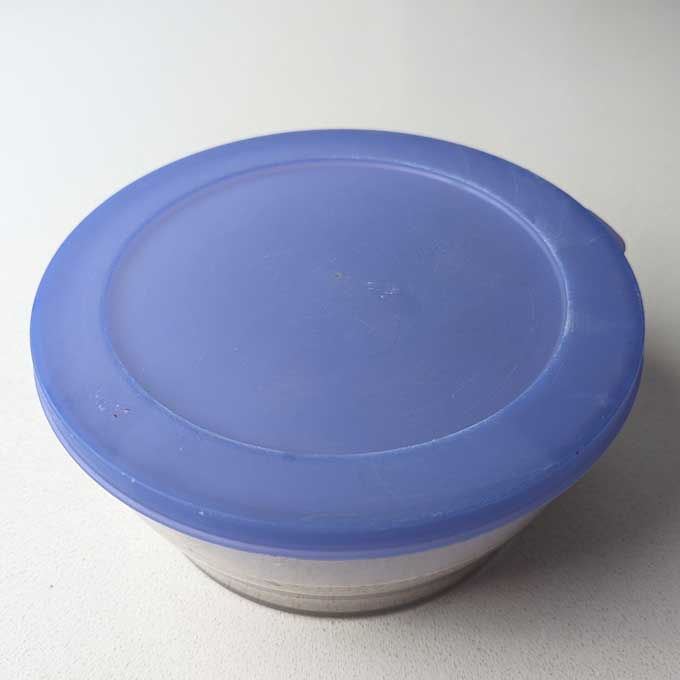
- Cover the mixing bowl with a tight lid.
- Allow the batter to ferment in a warm place, preferably inside the oven/microwave/instant pot for about 8-10 hours or overnight.
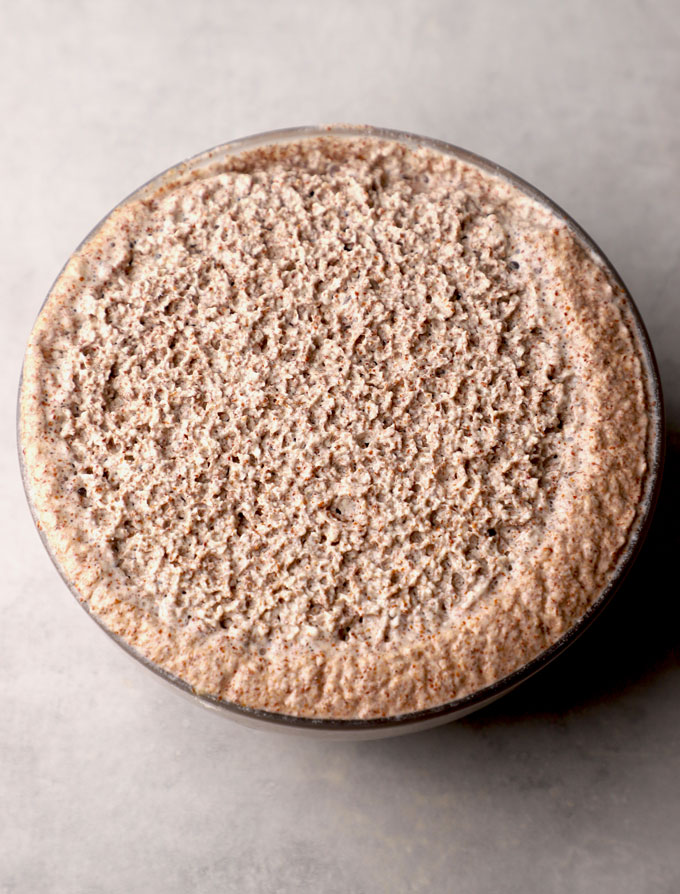
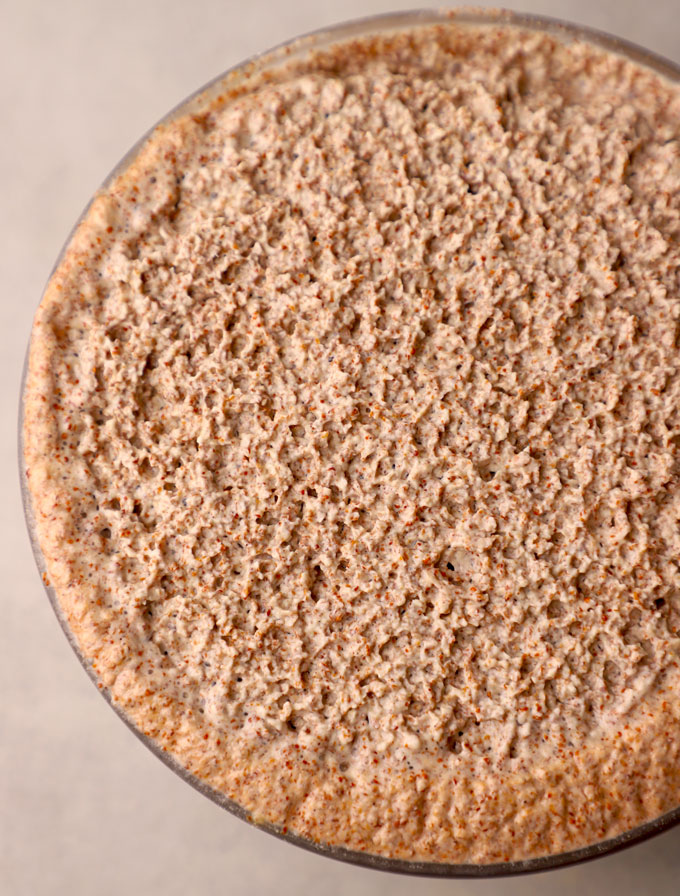
- During fermentation, the batter will double in volume and become fluffy.
- Once fermented, the ragi idli dosa batter is ready to use.
Storage Suggestion
Store the fermented ragi idli dosa batter in the refrigerator for up to one week. Use an airtight, wide container to store the batter. After a week, the batter starts tasting bad and bitter with too much sour smell.
After the fermentation process do not leave the batter at room temperature. It will continue to ferment and get to the stage of over-fermentation.
My Tried and True Tips
- Right Ratio: 1 Cup : ¼ Cup: ¼ Cup (ragi:dal:poha). This ratio works like a charm. I usually add ⅛ cup of water to blend this combination.
- Soaking Time: I prefer soaking ragi for 10 hours and urad overnight at room temperature. Always soak them separately.
- Avoid over-fermentation: Make sure the batter is not left out at room temperature for too long, or it may over-ferment. The optimal time in tropical weather like India is 8 – 10 hours, but in colder places it can take up to 24 hours.
- Use a large container with a lid to ferment idli dosa batter which should be double the capacity of the batter so that there’s enough room for the batter to expand and rice during the fermentation process.
- A warm oven or microwave is my favourite spot to keep the batter for fermentation undisturbed. You can use instant pot also for the purpose but it’s too much cleaning.
- Sugar aids the fermentation process and gives a subtle hint of sweetness to the batter. However, it is completely optional to add it.
- After grinding, whisking the batter helps in incorporating air and making it light and fluffy. It is an important step, do not miss it out. You can use a hand or stand mixer also for the purpose.
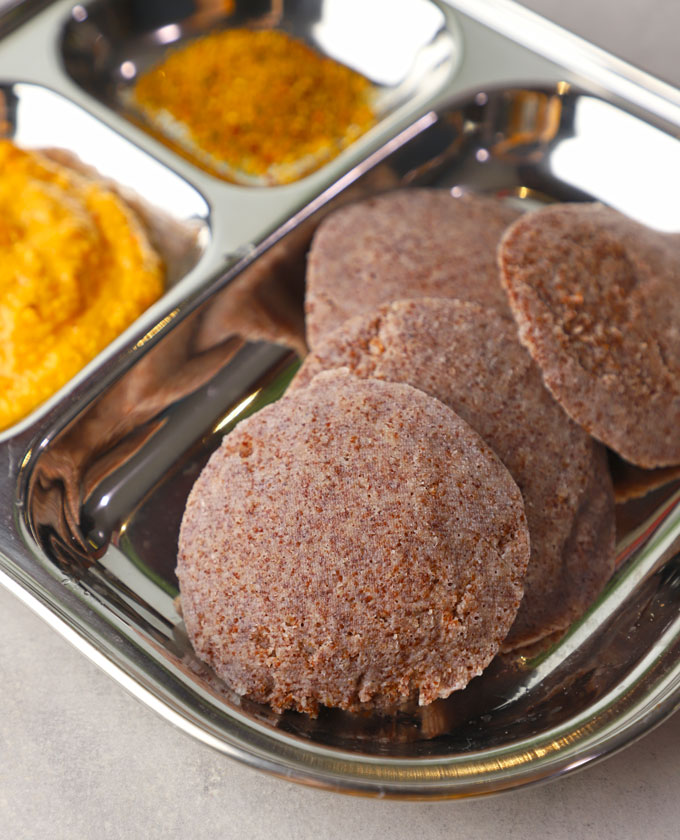
How To Use Ragi Batter
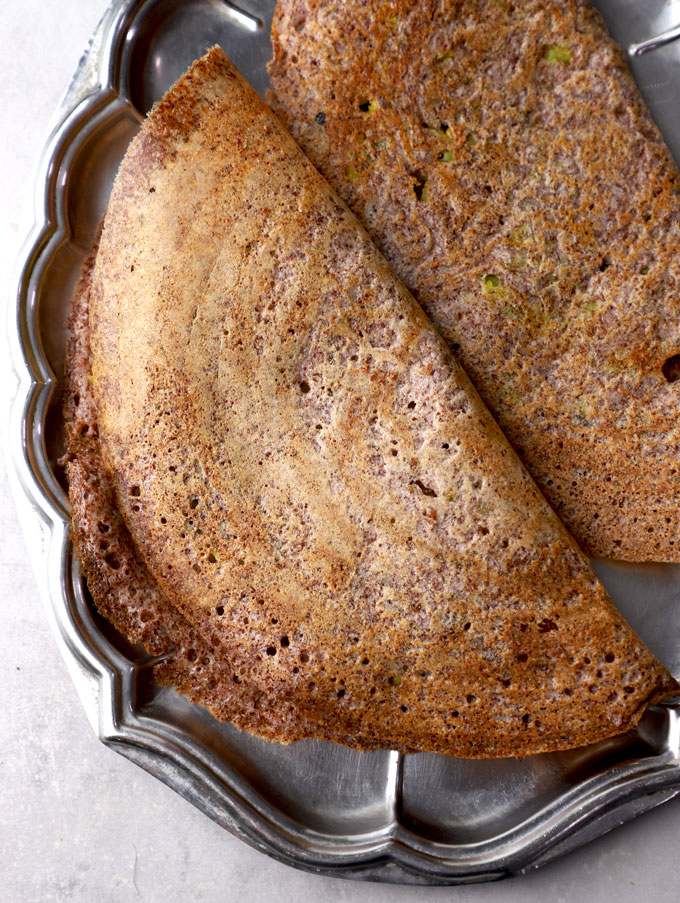
You can use ragi idli dosa batter to make crisp masala dosai, paper dosai, uttapam, or soft, pillowy idlis. Serve these South Indian dishes with vegetable sambar, and coconut chutney.
With its unique flavour, texture and immense health benefits, ragi idli dosa batter is a wholesome addition to everyday meals.
More Millet Recipes
follow us on Youtube and Instagram for video recipes.
Ragi Idli Dosa Batter Recipe
- Mixer Grinder
Ingredients
- 1 Cup finger millet (ragi)
- ¼ Cup white urad dal (dhuli urad)
- ¼ Cup thin poha (flattened rice flakes)
- ½ teaspoon fenugreek seeds (methi dana)
- 1 teaspoon raw sugar or granulated white sugar
- 1 teaspoon rock salt
- ⅛ Cup water (approximately)
Instructions
Preparing the Ingredients:
- Rinse the ragi and urad dal separately under running water 2 – 3 times. Soak them in water in two separate bowls. Soak ragi (finger millet) for 8 – 10 hours. Whereas urad with fenugreek seeds for 8 hours. Soak poha (flattened rice flakes) for 10 minutes in water.
Grinding the Batter:
- After soaking, drain the water from both ragi and urad.
- Using a strong blender or wet grinder, grind the soaked ragi into a smooth consistency. Do not add more than 2 – 3 tablespoons of water to get a thick, smooth batter. Transfer it to a large mixing bowl.
- Now grind the soaked urad dal with fenugreek seeds and poha into a smooth, fluffy batter, using 1 – 2 tablespoons of water if needed.
- Combine the ragi batter, dal batter, salt, and sugar in the mixing bowl.
- Whisk or beat the batter for 5 minutes, in a clockwise direction. The consistency of idli dosa batter should be light, smooth and spoon-dropping.
Fermentation of Batter:
- Cover the mixing bowl with a tight lid. Allow the batter to ferment in a warm place, preferably inside the oven/microwave/instant pot for about 8-10 hours or overnight.
- During fermentation, the batter will double in volume and become fluffy.
- Once fermented, the ragi idli dosa batter is ready to use.
Recipe Notes:
- At times, finger millet has debris or dirt particles, rinse it nicely 2 – 3 times before soaking.
- Before fermentation do not add too much water either while grinding or whisking the batter.
- Season the batter: Always season the batter before using it according to personal taste preference.
- Store the fermented ragi idli dosa batter in the refrigerator for up to one week.


Ravi says
Fantastic try. Keep it up.
Hina Gujral says
Glad you like it!