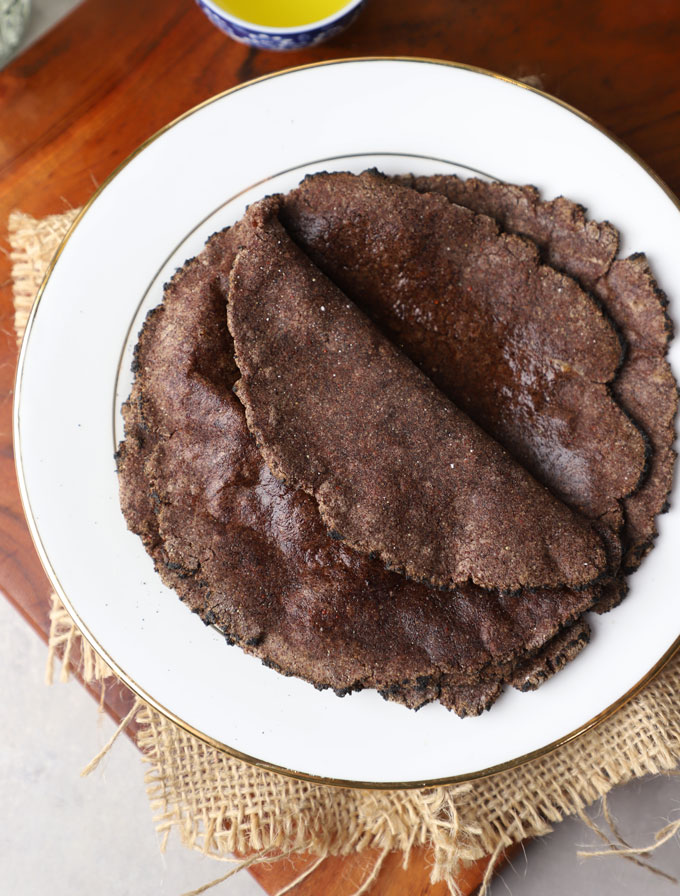
Learn how to make gluten-free Ragi Roti, a healthy and tasty traditional flatbread from Karnataka made with finger millet flour.
Estimated reading time: 6 minutes
Jump to:
The flatbread, made from ragi (finger millet) flour, is a staple in many Karnataka households. Ragi, known for its impressive nutritional profile, is a powerhouse of calcium, fibre, and essential minerals. Hence, you will find profound use of finger millet in various local dishes like ragi dosa and idli, ragi mudde, sweets, cakes, soup, or ambali.
Known as a “poor man’s grain” due to its affordability, ragi has a strong position in Indian kitchens for its superior nutritional value.
- High Calcium Content is essential for bone health.
- High Fibre content helps in digestion, managing blood sugar levels, and reducing cholesterol.
- High Iron Content is excellent for people with deficiencies, providing an ideal plant-based, natural supplement.
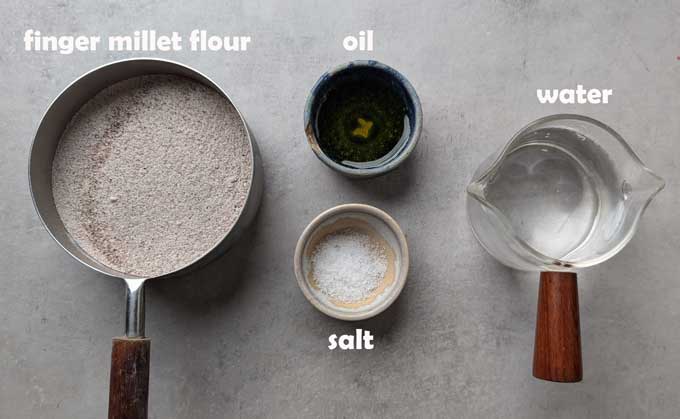
Ingredients You’ll Need
- Finger Millet (Ragi) Flour should be finely milled and not coarse in texture.
- Oil: Use either vegetable refined oil, ghee or coconut oil. It keeps the dough soft.
- Salt, Water
Optional Additions:
- Grated carrot, chopped coriander/spinach/methi/dill, or grated coconut for added flavour and nutrition.
How To Make Ragi Roti
Step 1: Prepare the Dough
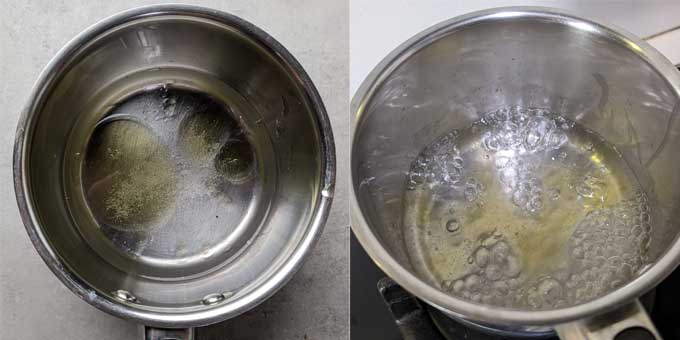
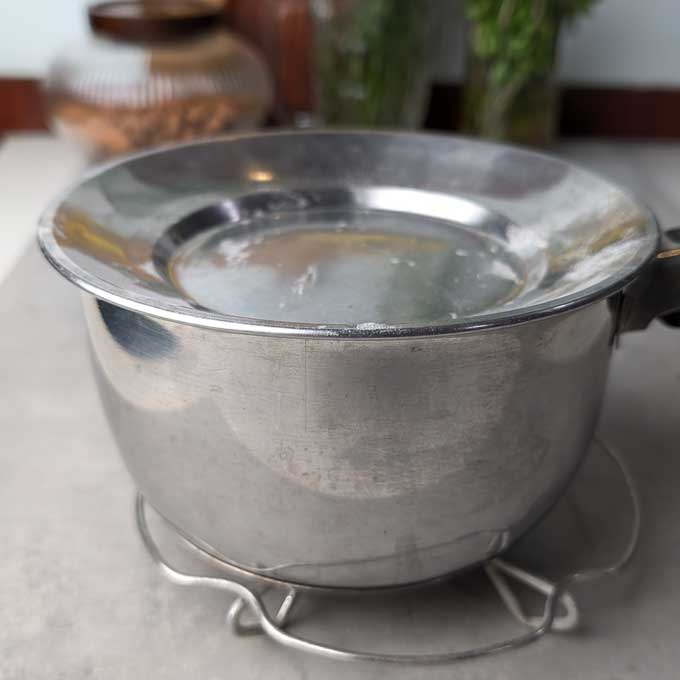
- Add water, salt, and oil to a wide saucepan. If you’re adding any extra ingredients, like grated carrots or greens, add them now.
- Bring it to a boil. Once the water starts boiling, turn off the heat.
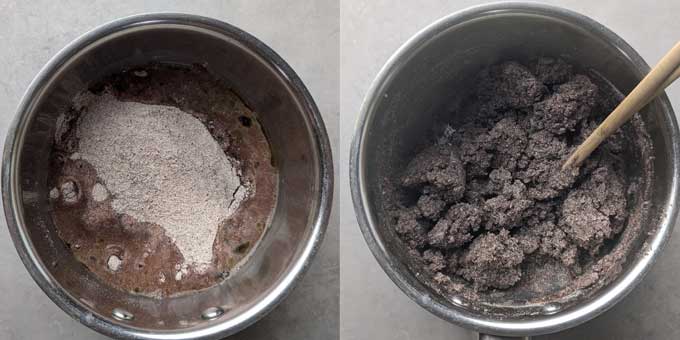
- Add ragi flour. Mix it using chopsticks or a wooden rolling pin. Cover and let it rest for 10 minutes.
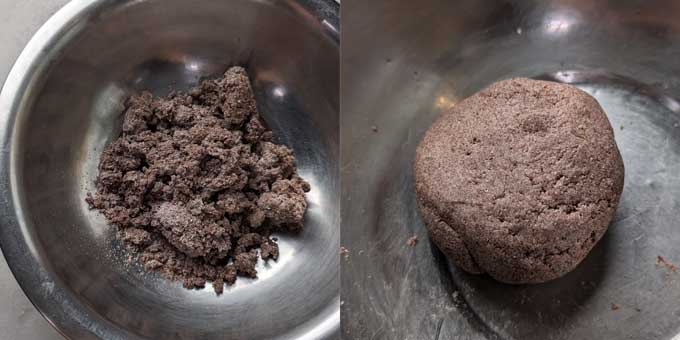
- Once the dough becomes a little easier to handle, transfer it to a wide mixing bowl or clean, flat kitchen counter.
- Bring the dough together and form a smooth, pliable, non-sticky dough. Cover with a clean muslin cloth and let it rest for 10 minutes. This helps the ingredients blend better and makes the dough easier to work with.
Step 2: Shape the Rotis
- Divide the dough into small, equal-sized balls (about the size of a golf ball).
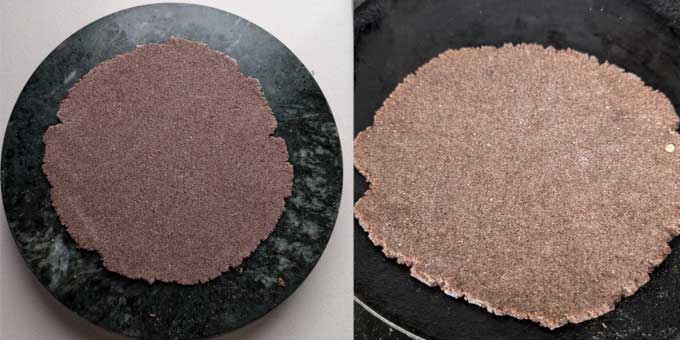
- Take one dough ball and place it on a flat surface. Ragi flour is gluten-free, so it doesn’t roll out as easily as wheat flour. You can either:
- Roll it between two pieces of parchment paper: Place the dough ball between two sheets and gently press or roll it out with a rolling pin.
- Flatten it with your hands: Use your fingers to gently press the dough out from the centre, forming a round shape (around 6 inches in diameter).
Step 3: Cook the Roti
- Heat a non-stick skillet or tawa on medium-high heat.
- Gently transfer the rolled-out ragi roti onto the skillet. Cook for 1-2 minutes until you see bubbles forming on the surface.
- Flip the roti, and cook for another 1 – 2 minutes on the other side.
- Press gently with the clean muslin cloth, especially on any uncooked spots, to ensure even cooking.
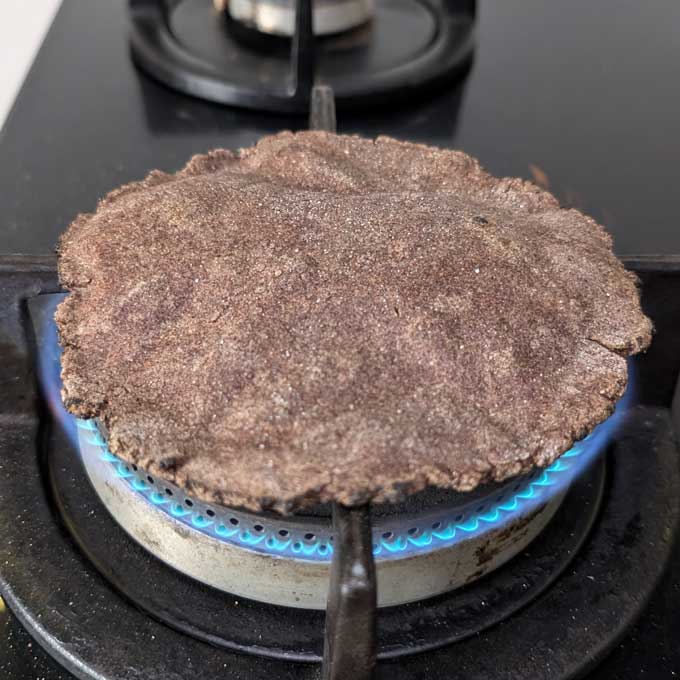
- Flip it back one more time, cooking for 30 seconds to 1 minute until both sides are well cooked with some brown spots. If you want you can puff it directly over the flame.
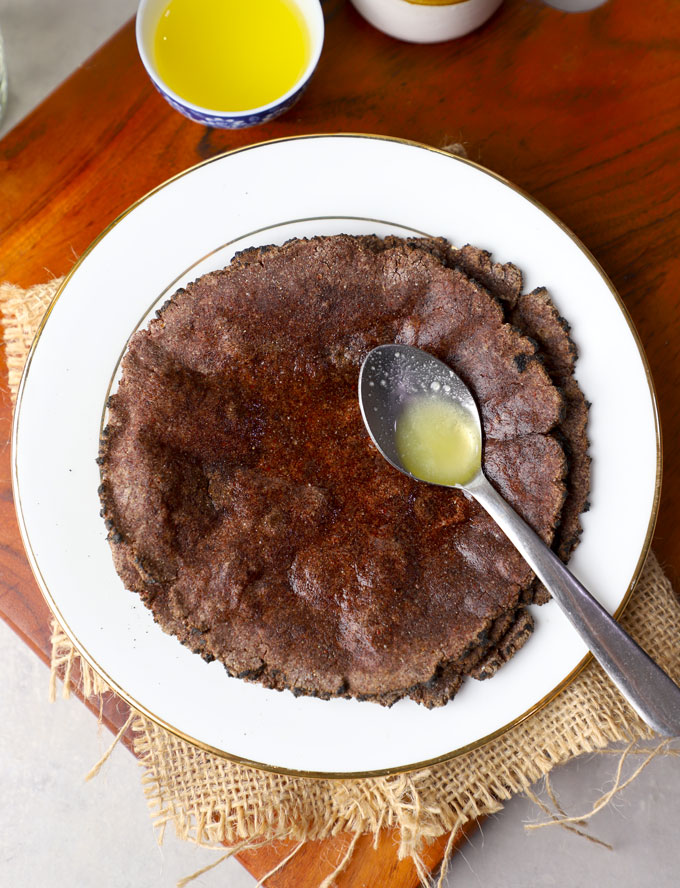
- Remove the roti from the skillet, smear a little bit of ghee (optional) and repeat the process for the remaining dough balls.
Serving Suggestion
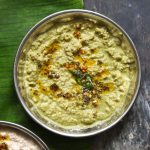
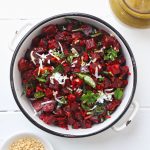
Serve ragi roti as a side dish with Indian main course dishes, dals, and curries. It provides a delightful contrast to rich and flavorful gravy dishes.
Alternatively, use it to make wraps, tacos, or pizza.
My Tried and True Tips
- Measurements play a key role in binding a gluten-free dough – for perfect results request you to follow them to the tee.
- Use finely milled rice flour with a texture like an all-purpose flour.
- Start binding the dough while it is warm unlike, other roti recipes. This step will always yield soft ragi roti.
- Allow the dough to rest for 10 minutes after binding. It helps to hydrate the flour and improve its elasticity.
- If the dough becomes too sticky, add a little more ragi flour; if too dry, add a few drops of water.
- The process of making ragi roti is very similar to rice flour roti. You can watch the detailed video.
More Indian Bread Recipes
follow us on Youtube and Instagram for video recipes.

Ragi Roti Recipe
- Saucepan
Ingredients
Instructions
- Add water, salt, and oil to a wide saucepan. If you’re adding any extra ingredients, like grated carrots or greens, add them now.
- Bring it to a boil. Once the water starts boiling, turn off the heat.
- Add ragi flour. Mix it using chopsticks or a wooden rolling pin. Cover and let it rest for 10 minutes.
- Once the dough becomes a little easier to handle, transfer it to a wide mixing bowl or clean, flat kitchen counter.
- Bring the dough together and form a smooth, pliable, non-sticky dough. Cover with a clean muslin cloth and let it rest for 10 minutes. This helps the ingredients blend better and makes the dough easier to work with.
- Divide the dough into small, equal-sized balls (about the size of a golf ball). Take one dough ball and place it on a flat surface. Place the dough ball between two sheets of parchment paper and gently press or roll it out with a rolling pin.
- Heat a non-stick skillet or tawa on medium-high heat. Gently transfer the rolled-out ragi roti onto the skillet.
- Cook for 1-2 minutes until you see the surface puffing up. Flip the roti, and cook for another 1 – 2 minutes on the other side.
- Press gently with the clean muslin cloth, especially on any uncooked spots, to ensure even cooking. Flip it back one more time, cooking for 30 seconds to 1 minute until both sides are well cooked with some brown spots. If you want you can puff it directly over the flame.
- Remove the roti from the skillet, smear a little bit of ghee (optional) and repeat the process for the remaining dough balls.
- Serve ragi roti warm.
Recipe Notes:
- Add grated carrot, chopped coriander/spinach/methi/dill/curry leaves, or grated coconut for flavour and nutrition to the dough.
- While binding, if the dough is hot, dip your fingers in room temperature water to easily handle the dough.
- While resting the dough, cover it, else it becomes dry and difficult to roll out.
- Ragi dough is not fridge-friendly. Hence, it is best to make a fresh batch each time you want to make chapati.
- You can watch the detailed video of rice flour roti. The process of making these gluten-free rotis is very similar.


Anonymous says
sounds to be really interesting recipe. We need to try this for sure.
megha singhal says
never tried ragi roti but the pics are so tempting that I will try this ASAP:) a new healthy recipe for me
vidya m says
Looks yummy , my mom used to make this when we were young , thanks for the recipe